As we age our complexion really takes a beating. Exposure to the sun, pollution and even genetics can result in a breakdown of our skin’s collagen and loss of elasticity.
Case in point, if you were from the generation prior to the 1990s, when sunscreen was available but not as widely used as it is today, then chances are you may have acquired some sun damage, age spots or even premature wrinkling. I remember sunbathing on the blacktop in my parents driveway, while frequently applying baby oil all over to achieve that sun-kissed look. I always loved the way my skin glistened.
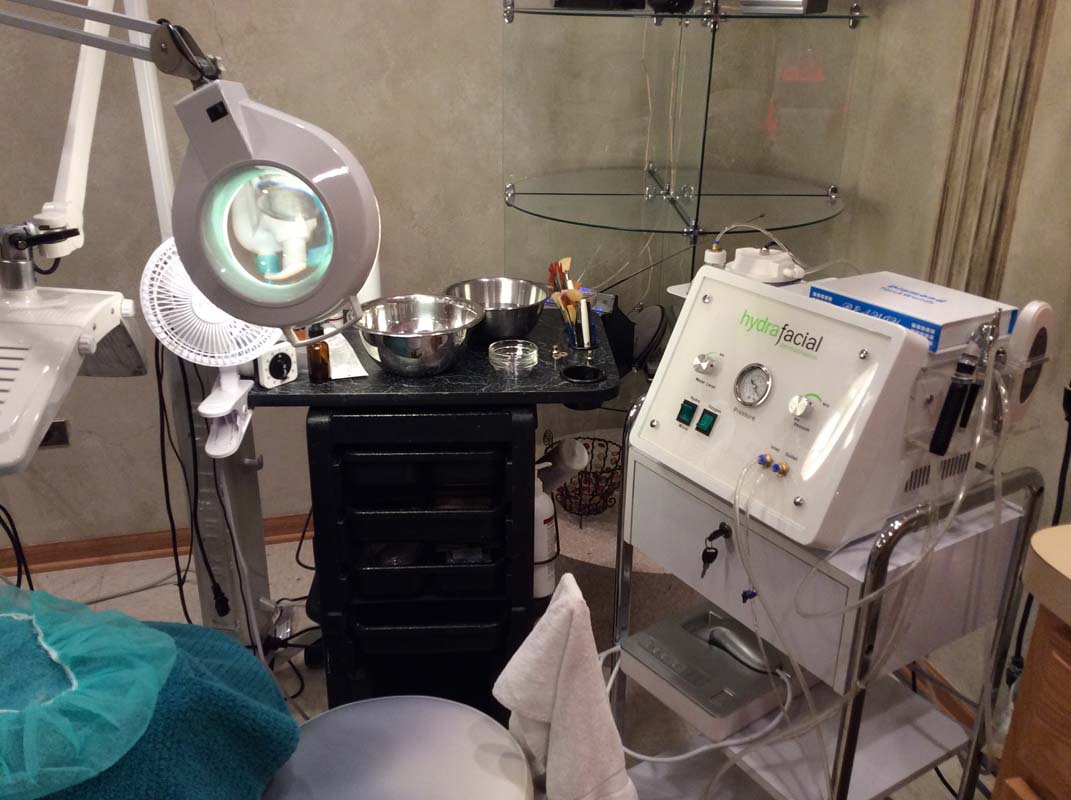
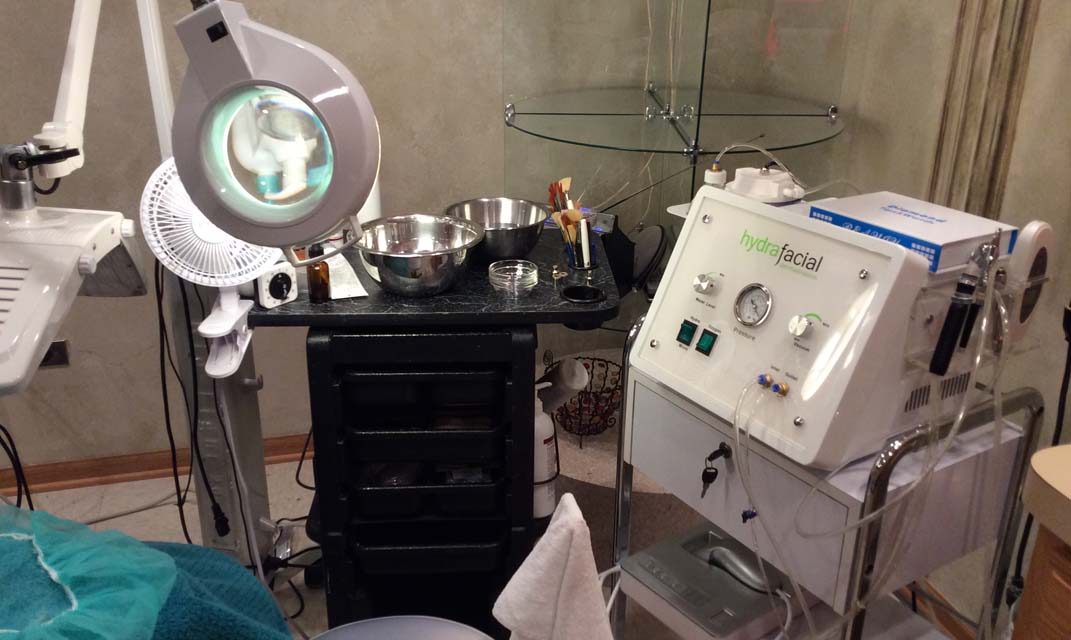
Medi spa treatment room setup for my lunchtime chemical peel, including facial machine. © 2014 AnnMarie Koss / RH Communications, Inc.
In hindsight, there’s the side of me that wishes I had paid attention to those warnings about the harmful effects of the sun and its rays — as I encourage everyone to do today. If I did, I would have taken more precautions.
Fast forward to today, we now have a vast array of skin care products and new technology to help us. So, we have options to help reverse some of the damage — or at least slow the process down from getting worse. The chemical peel is one.
What is a Lunchtime Chemical Peel?
The lunchtime chemical peel got its name because it can literary be done — like most lunches — in under an hour. Although the process may differ from spa to spa, you can expect a mild chemical peel to be administered and then neutralized, followed by the application of a soothing mask and moisturizer. It’s fast, effective and has little or no down time.
If you’re traveling and can find an hour between meetings or seminars in the middle of the day, grab a healthy snack and check out your hotel’s day spa. Chemical peels are also offered at qualified medi spas, too. Use the time to treat yourself to rejuvenated skin cells.
Why Get a Chemical Peel?
The lunchtime chemical peel has many benefits:
- Removes dead skin cells to reveal healthy glowing skin.
- Encourages the production of collagen to plump you skin and fill-in fine lines and wrinkles.
- Reduces redness caused by rosacea.
- Kills bacteria that causes breakouts and acne.
- Evens out your skin tone.
As with any treatment, the results will vary based on your skin type, severity of the damage and, of course, continued maintenance and upkeep.
I first read about the lunchtime chemical peel in a skin care magazine and decided to give it a try. To make the experience as authentic as possible, I packed some fruit and other healthy snacks for the day, skipped my usual trip to Subway lunch and went to Perfect Skin Solutions in Orland Park, Illinois. Peggy was the esthetician who performed the peel, and she’s the operator for the spa.
Initial Questions Your Esthetician Should Ask
Because this was my first peel, Peggy asked a lot of questions about my skin type and sensitivity level. Do I break out? Have I ever had rosacea? Is my face oily, dry or a combination of both? She gathered as much information as possible so that the right chemical grade was applied to avoid excessive peeling.
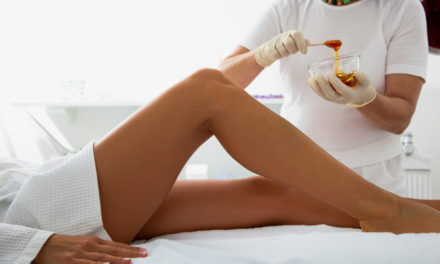
It is important to disclosure to your esthetician if you had any waxing, threading or laser hair removal in the two weeks prior to your visit. Such recent treatments can cause unnecessary side effects for a chemical peel. This could include redness, itching and overall discomfort. As a rule of thumb it is best to wait a week if you had a facial treatment; however, if you have had laser hair removal, it is recommend you wait at least two weeks.
What Should You Expect During a Chemical Peel?
Mine was a bit more involved than just the basic chemical peel. We started with a gentle cleansing to remove any dirt and makeup which can clog the pores. Next came the chemical peel itself.
Step 1: Light glycolic with lactic and high PH balance.
Because I was a “newbie,” Peggy chose this approach “to play it on the safe side,” as she said, and explained that lactic acid is great for people with sensitive skin, rosacea issues and beginners in general. There are many different grades of peel that can be administered, but the light glycolic is the least invasive. Peggy also reassured me that even though my peel was one of the milder ones, it was still going to be effective! She shared that I should expect to have seven to 10 layers of dead skin removed. 5 minutes.
Step 2: Five finger pain scale during chemical peel.
During the process Peggy monitored my pain levels by asking me to show one to five fingers. One finger is considered the lowest level of discomfort and most tolerable, while five fingers would represent my desire to “get this thing off my face now!” I didn’t experience any pain, but my skin did itch slightly. When I gave her the number three, she knew my skin had had enough. She informed me that most people are able to tolerate the peel for anywhere from 20 seconds to five- (I lasted of two) minutes. Up to five minutes.
Step 3: Neutralize and dilute the peel.
Next she added water to my face to neutralize the lactic acid and dilute the peel. After the itching subsided, my skin was neutralized. 2 minutes.
Step 4: Extractions.
Although this is my least favorite part, I understand the benefits behind removing any unsightly pimples, so I accept this as the price paid for clear, unblemished skin. I only had three small bumps to extract. The process was quick, and she was gentle. 5 minutes.
Step 5: Microdermabrasion (microderm).
When done regularly, this a wonderful tool for turning over new skin cells and correcting any uneven skin tone and sun damage. A microderm treatment alone is effective, but when coupled with a chemical peel it is a dynamic duo. The chemical peel opens up your skin and removes the dead layers of cells, and then the microderm machine vacuums them up. 20 minutes.
Step 6: Pressurized oxygen.
I was next treated to a shot of pressurized oxygen which felt similar to a blast of cold air on an extremely hot day. The oxygen was administered via a long tube — almost as if it was being airbrushed on my face. Oxygen not only assists in the healing process, it also nourishes the skin — especially when your pores are opened and unclogged like mine were after the peel and microderm. 5 minutes.
Step 7: Contour firming mask.
This is the perfect time to apply a mask (after you’ve had extractions). It works to narrow the pores and tighten the skin. Although very constricting, it helps pull the blood flow away from the face to diminish the redness from the chemical peel. She then added a peptide serum to give my skin’s collagen a boost. Peptides are comprised of amino acids which build protein. These little powerhouses assist in the reproduction of cells, and they penetrate into the skin quite easily which helps plump it up. 5 minutes.
Step 8: Light-emitting diode (LED) therapy.
More commonly known as the red light/blue light treatment (five minutes). Peggy shielded my eyes with a pair of goggles because the LED machine has about 1,400 tiny red and blue spectrum bulbs. The red light (with continued use) is great for hyper pigmentation (patches of skin that darken with age) and lightening brown spots. The blue light kills the acne-causing bacteria and helps fend off future breakouts. 10 minutes.
Step 9: Skin cleansing.
As the final step, Peggy gently cleansed my skin, removing any residue then applied sun screen. Her instructions were simple “stay out of the sun, and don’t let the hot water from the shower hit your face tonight.” Then I was good to go! 3 minutes.
My Lunchtime Chemical Peel Results
When my treatment was complete, my skin had no redness or peeling (so I suspect the finger scale worked). The next day I did notice that applying makeup was a breeze, and my moisturizer seemed to quickly absorb into my skin. I had a very nice glow for about 10 days, and the tiny brown patch on my left cheek was a tad lighter. All of this in less than an hour.
For more dramatic, long-lasting improvements for your complexion, Peggy suggests having a lunchtime facial every four weeks as well as a microdermabrasion treatment every two weeks.
Helpful Hints to Maintain Your Skin Results
Invest in good products! That doesn’t have to mean pricier products are better. There are a variety of cosmetics, serums and creams that do an ample job without straining your budget.
Peggy suggests using a gentle cleanser that won’t dry out your skin and a vitamin C serum to produce a more even skin tone. As always, don’t forget the sunscreen. Look for one that contains zinc oxide which helps absorb the harmful UVA rays the sun throws at us.
If you would like to be a bit more proactive, then you may want to consider using products that contain peptides for their anti-aging benefits and their ability to help repair your skin.
As with most beauty regimens, for best results find a treatment plan that works for you. Choose one that is not complicated so that you can enjoy it and maintain the routine on a regular basis.
The bottom line: Whether you’re on the road or at home, apply your sunscreen, cleanse daily and don’t forget your vitamin C. Treat your skin nicely, and it will repay you tenfold with a healthy looking complexion.
As always, if you ever have questions or concerns about a spa or medi spa treatments, always consult your physician before any procedure.
Have you had a lunchtime chemical peel? If so, share your comments and review with us!

